
YOU GUYS! I finally MADE something I found on Pinterest!
For those of you not aware, I’m home décor-challenged. Actually, that goes for anything design/fashion-related. So whenever I see posts on Katelyn James’ blog detailing her home decorating adventures, I hang onto every word for dear life, hoping to pick up some tips. It hasn’t worked very well though because every time I set foot in Home Goods, Target or Pier 1, I’m immediately overwhelmed by all of the choices. So for the most part, our apartment has remained minimally decorate for the past year and a half. But then my friend Rebekah shared how she decorated for fall this past week, and I got the craftin’ bug. I LOVE creating, painting, gluing, glittering, folding, etc, so I figured I could probably make something manageable to decorate at least a LITTLE. So I hopped on Pinterest, found a DIY tutorial for a super simple wreath (of course, now that I need it again, I can’t find it to link to…), and VOILA! Check it out!
It cost me less than $20 and took less than an hour! Here’s what you need (I found all of this in a 7 minute trip to AC Moore):
- A Styrofoam wreath form (the DIY tutorial I saw used a wreath made of grapevine- I just picked up the first thing I could find)
- Three bags of Spanish moss
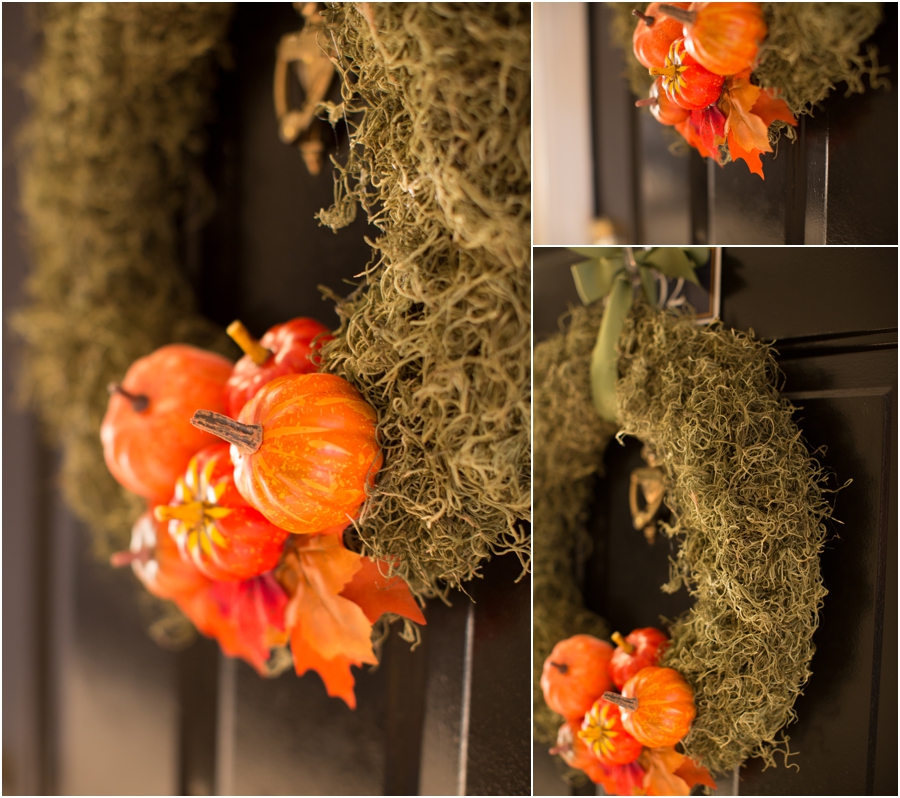
- Various fall-themed baubles- I chose pumpkins and added a couple of fall-colored leaves (all artificial, obviously)
- Hot glue. Lots of it. I think I went through 6-7 sticks?
- 2-3 feet of wide, sturdy ribbon (I chose a grosgrain)
1. Start by pulling out handfulls of moss- the whole package comes in a clump, so just pull off a handful at a time. Slather on some hot glue in a zig-zag pattern and apply a blob of moss. Be generous with the moss- you want it to thoroughly cover the wreath form so none of the white shows through. Also be generous with the hot glue! If you find yourself missing spots, you can simply go back and “patch” the spot with a few pinches of more moss. I also found the crumbly remains at the bottom of the bag were helpful for patching. And don’t forget to cover the sides of the wreath to (there’s not need to cover the back).
2. Choose how you want to arrange your fall-themed baubles, then apply a LOT of hot glue to the bottom of each bauble and slap ’em on.
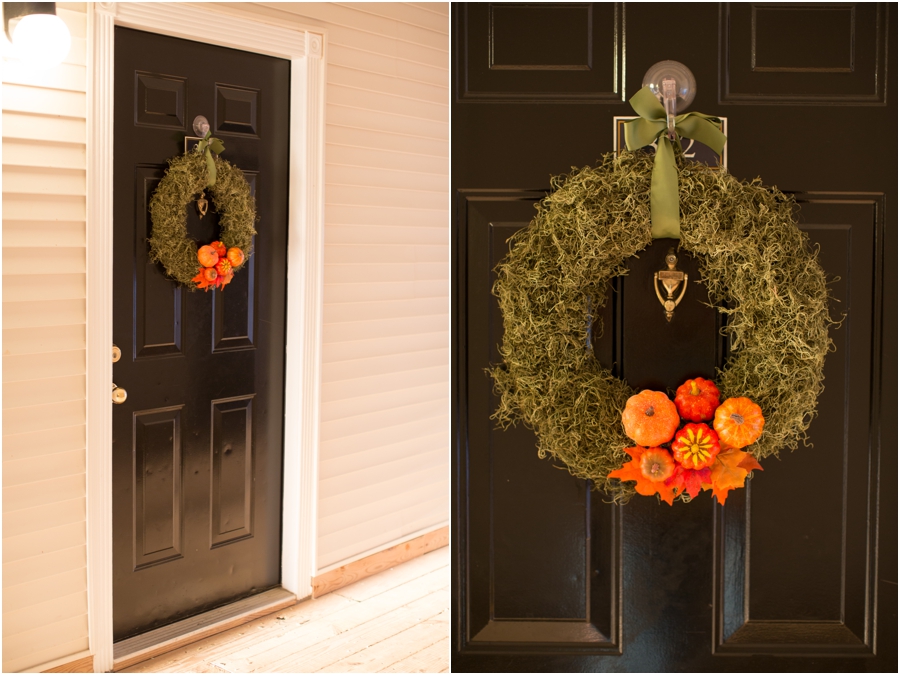
3. Tie a ribbon loop around the top and hang it up! And done. Now your door will look spectacular!
And guess what? I found the DIY tutorial I was looking for! Check it out here.
Happy Friday!! Go drink some apple cider or something!
A Pinterest project, come to life!
September 21, 2012
Follow along
@abbygracephoto
info@abbygracephotography.com
WASHINGTON, DC & WORLDWIDE
DESIGN BY TONIC SITE SHOP
© ABBY GRACE PHOTOGRAPHY 2024
Back to top

It’s adorable Abby…I LOVE it! I really, really like the spanish moss! Makes me want to start decorating for fall too 🙂
Thanks for the shout-out! This is so adorable!!
So fun!! Thanks for sharing! 🙂
Oh this is cute!! It looks so good on your door! I love making wreaths…Such a fun project that’s simple but makes a big impact!
Ooooh! Great job. Looks great!
[…] Again with the whole “I can do anything September-December” attitude- I made a wreath last year for fall as well… and then didn’t make/purchase one for any other season. Weird how […]
[…] DIY […]