
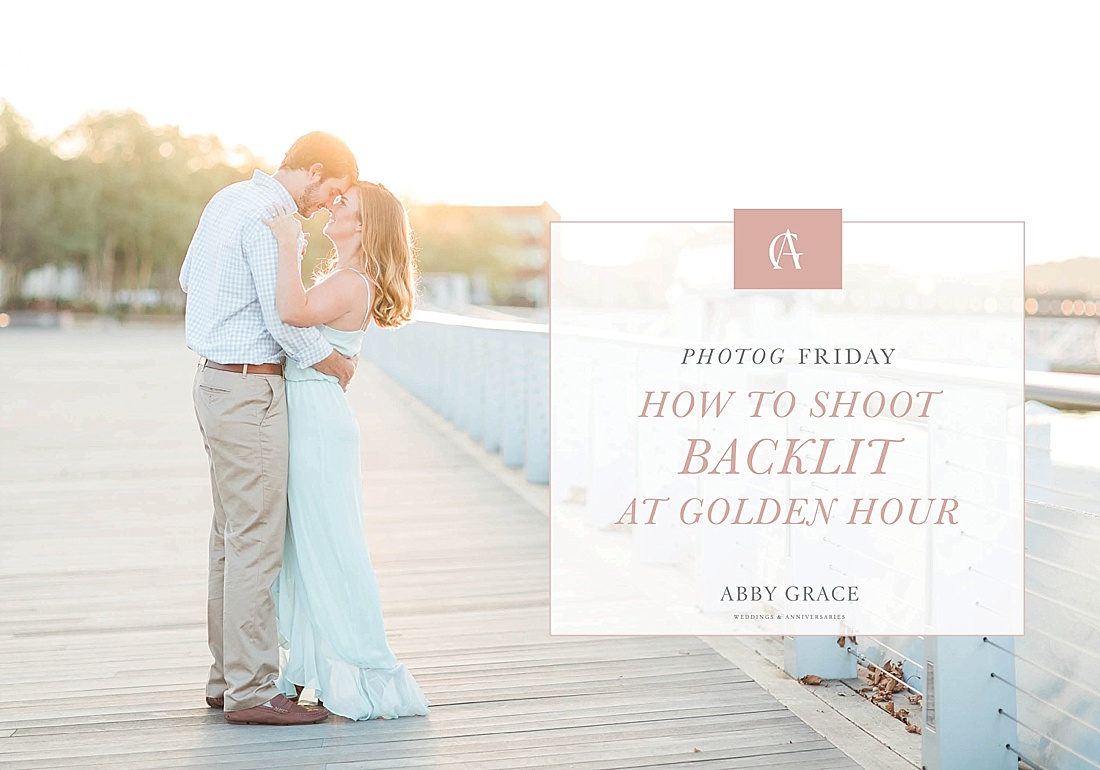
Oh golden hour, how I adore you! As photographers, we LOVE this time of day. No worries about unsightly shadows underneath your clients eyes, noses, or chins, because the sun is coming from the SIDE instead of from above! So just to make sure we’re all on the same page, let’s start with a loose definition:
- Golden hour: the 45ish minutes after sunrise and before sunset. According to THIS source, it’s defined as the period when the sun is between the horizon (0˚) and 6˚ above the horizon. It’s that time of day when the sun is low enough on the horizon that it yields a warm, buttery yellow light.
It’s also the time of day when, if you’re driving and your windshield is dirty, it becomes impossible to see where you’re going because of the glare. But assuming you’re not driving, it’s the prettiest.
My favorite way to shoot during golden hour (or “magic hour” as some people call it) is backlit. Why? Because the quality of light is a little too yellow for my taste when hitting skin tones directly. The yellow from the sun when it’s at such a low angle results in really, REALLY warm skin tones, so I choose to allow golden hour light to make itself known everywhere BUT directly on my clients’ faces so that skin tones feel natural (instead of slightly jaundiced).
So how on earth do I do that?
By facing my couples away from the sun.
This means that I’m shooting INTO, or facing the sun. And shooting into the sun can cause its own set of challenges!
During golden hour specifically, there are three basic ways to shoot into the sun:
- With the sun IN your frame
- With the sun IN your frame, but diffused (diffused meaning partially or completely obscured by another object to scatter or limit the amount of direct sun entering your lens)
- With the sun just OUTSIDE of your frame
It used to be that I loved shooting with the sun itself in my frame, because doing so often resulted in lens flare, or that burst of seemingly-inexplicable round or hexagonal-shaped blobs on your photograph that happens when stray light enters your lens (go HERE for a more thorough/scientific reasoning behind lens flare). I thought lens flare was the coolest. I actually sometimes even added in EXTRA lens flare in PhotoShop, that’s how much I loved it.
But then I realized that shooting into the sun like that resulted in lower-quality photographs, because the extra light bouncing around in your lens degrades the color and contrast of your photograph. I had to compensate a LOT in post-processing in order to bring back the highlights & shadows.
Below is a mistake shot where I managed to get the sun itself in my frame- Joey’s head is completely obscured by light because I didn’t COVER the sun, so the bursts of light bleed into the surrounding area of my frame. See how washed out this photo is? I would have had to manipulate my Curves/Levels pretty heavily in post-processing to bring the contrast back to a place where I was satisfied.
(Also, notice the random blob of light on Joey’s calf? Thank you, lens flare. The 2011 version of myself would have been thrilled.)
So then I began experimenting with diffusing the sun by blocking the actual flaming-ball-of-incandescent-gas in the sky- at first, I’d hide my clients behind buildings, trees, you name it.
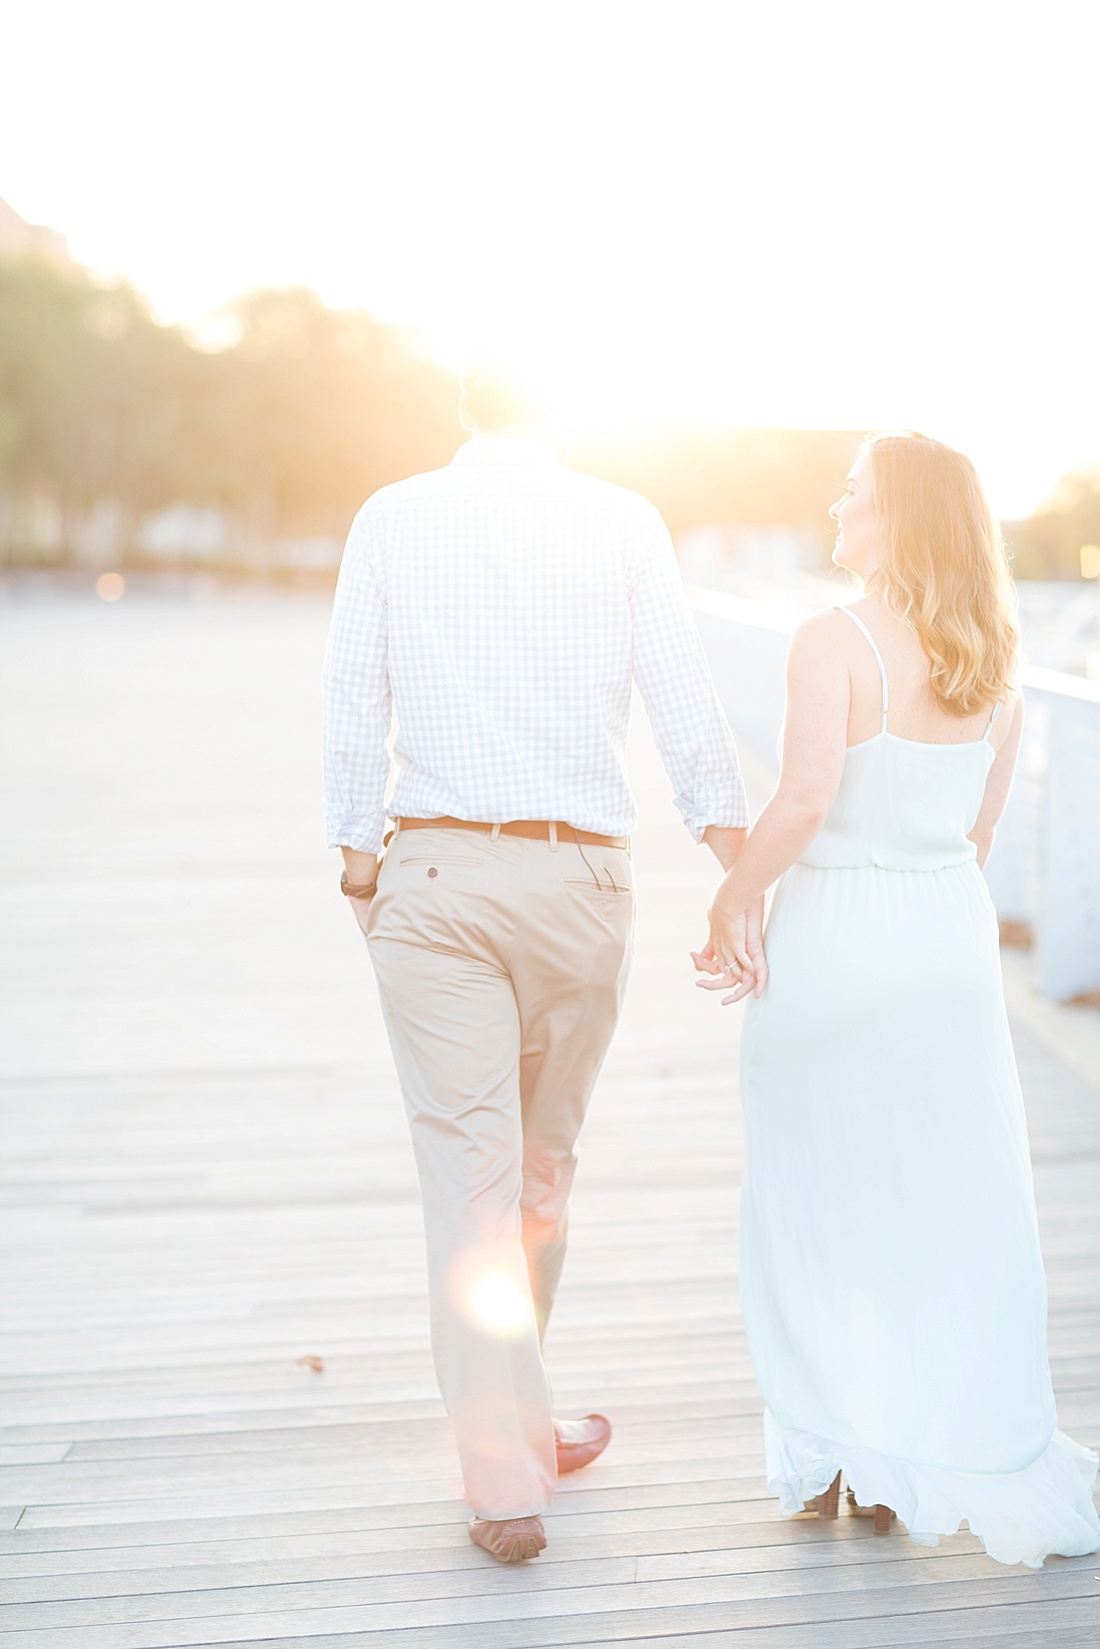
But then I realized I could actually shoot out in the open, I just needed to be more strategic about my COMPOSITION. These days, when I want to shoot backlit in an open area without a tree line, building, or some other object to diffuse the direct light from the sun, I use my couple to diffuse the light by composing my shot with their heads/torsos blocking the sun.
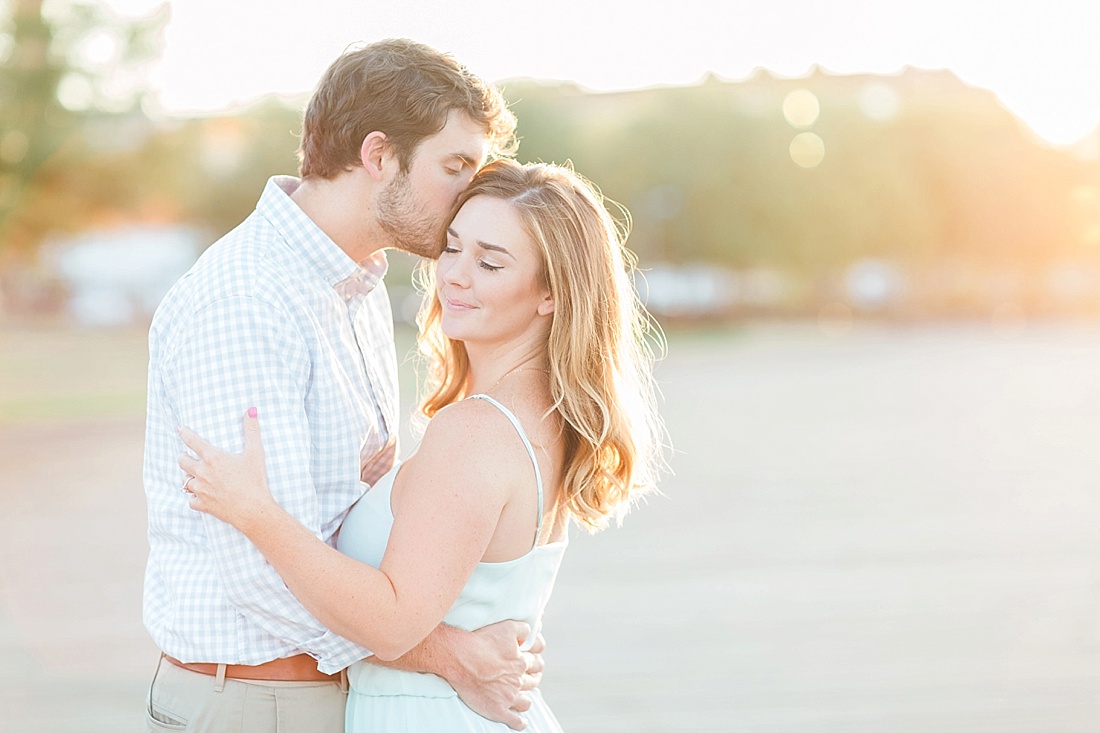
This shot, taken moments after the “mistake” frame above, was exactly what I was going for- see how the contrast is satisfactory, and the colors are intact? And you see how there’s that gorgeous golden halo of light around Chelsea’s hair? It’s because I’m using their heads to block the sun!

Another example of backlighting, using Chelsea to block the sun. 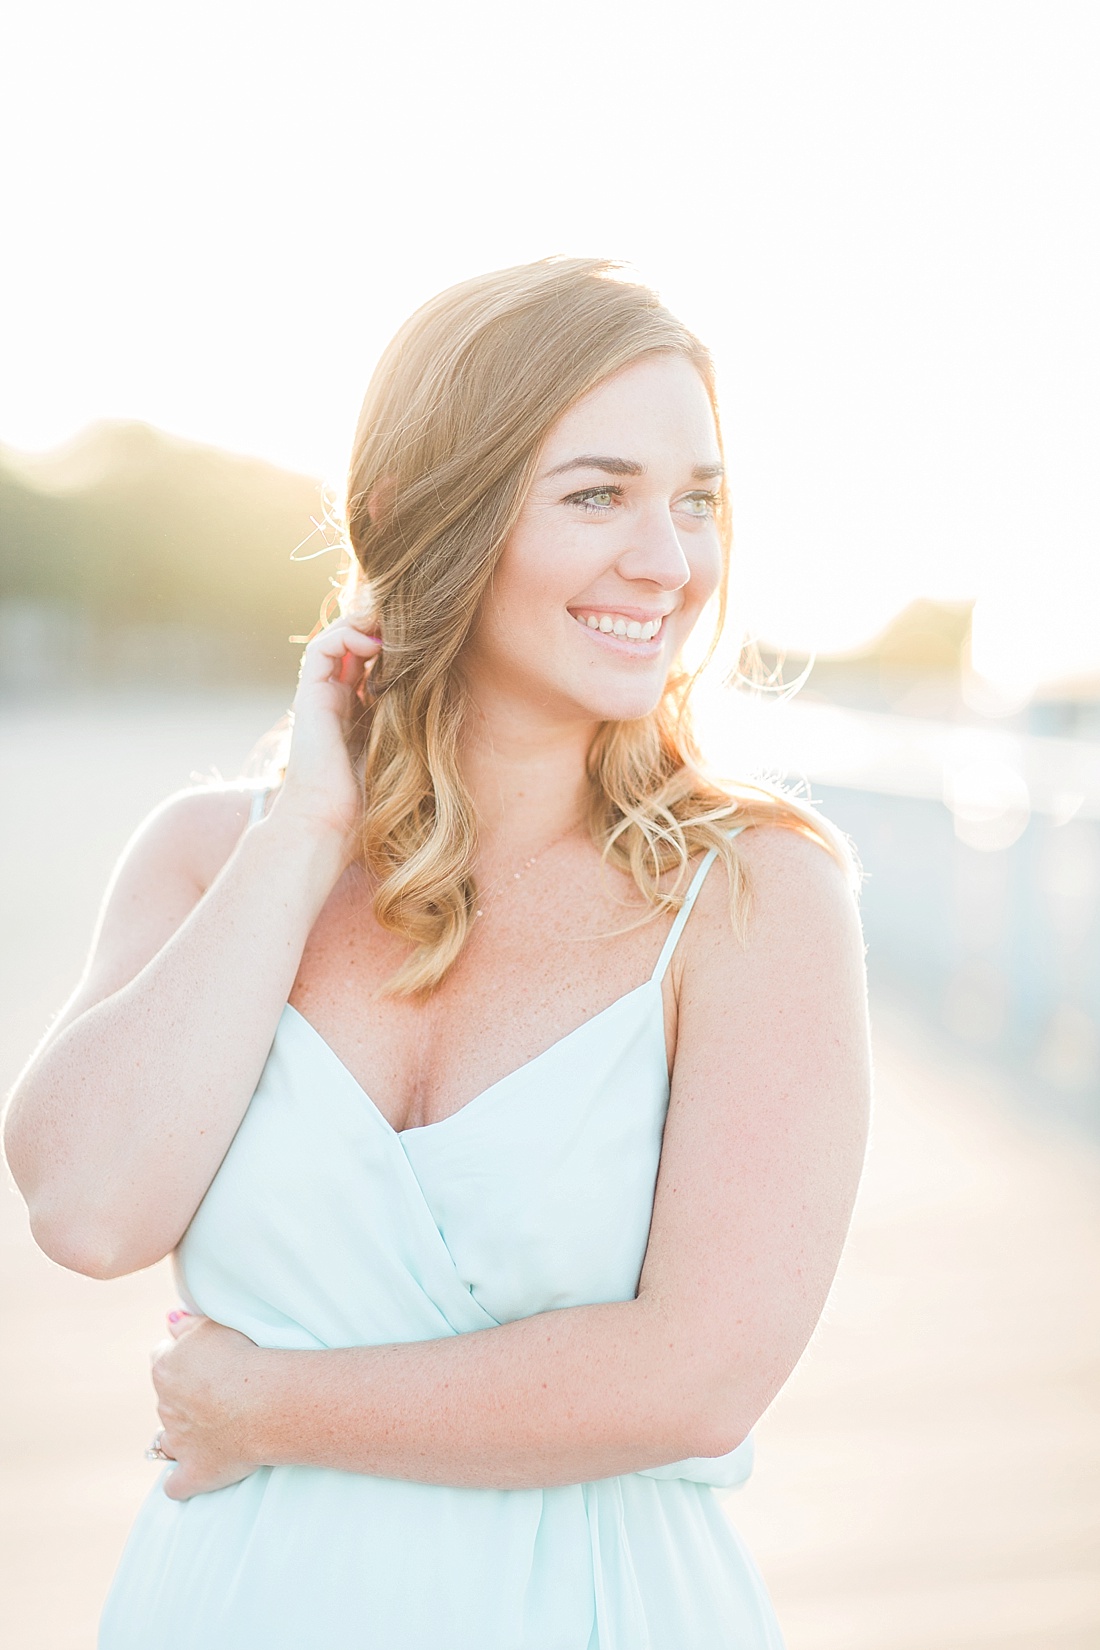
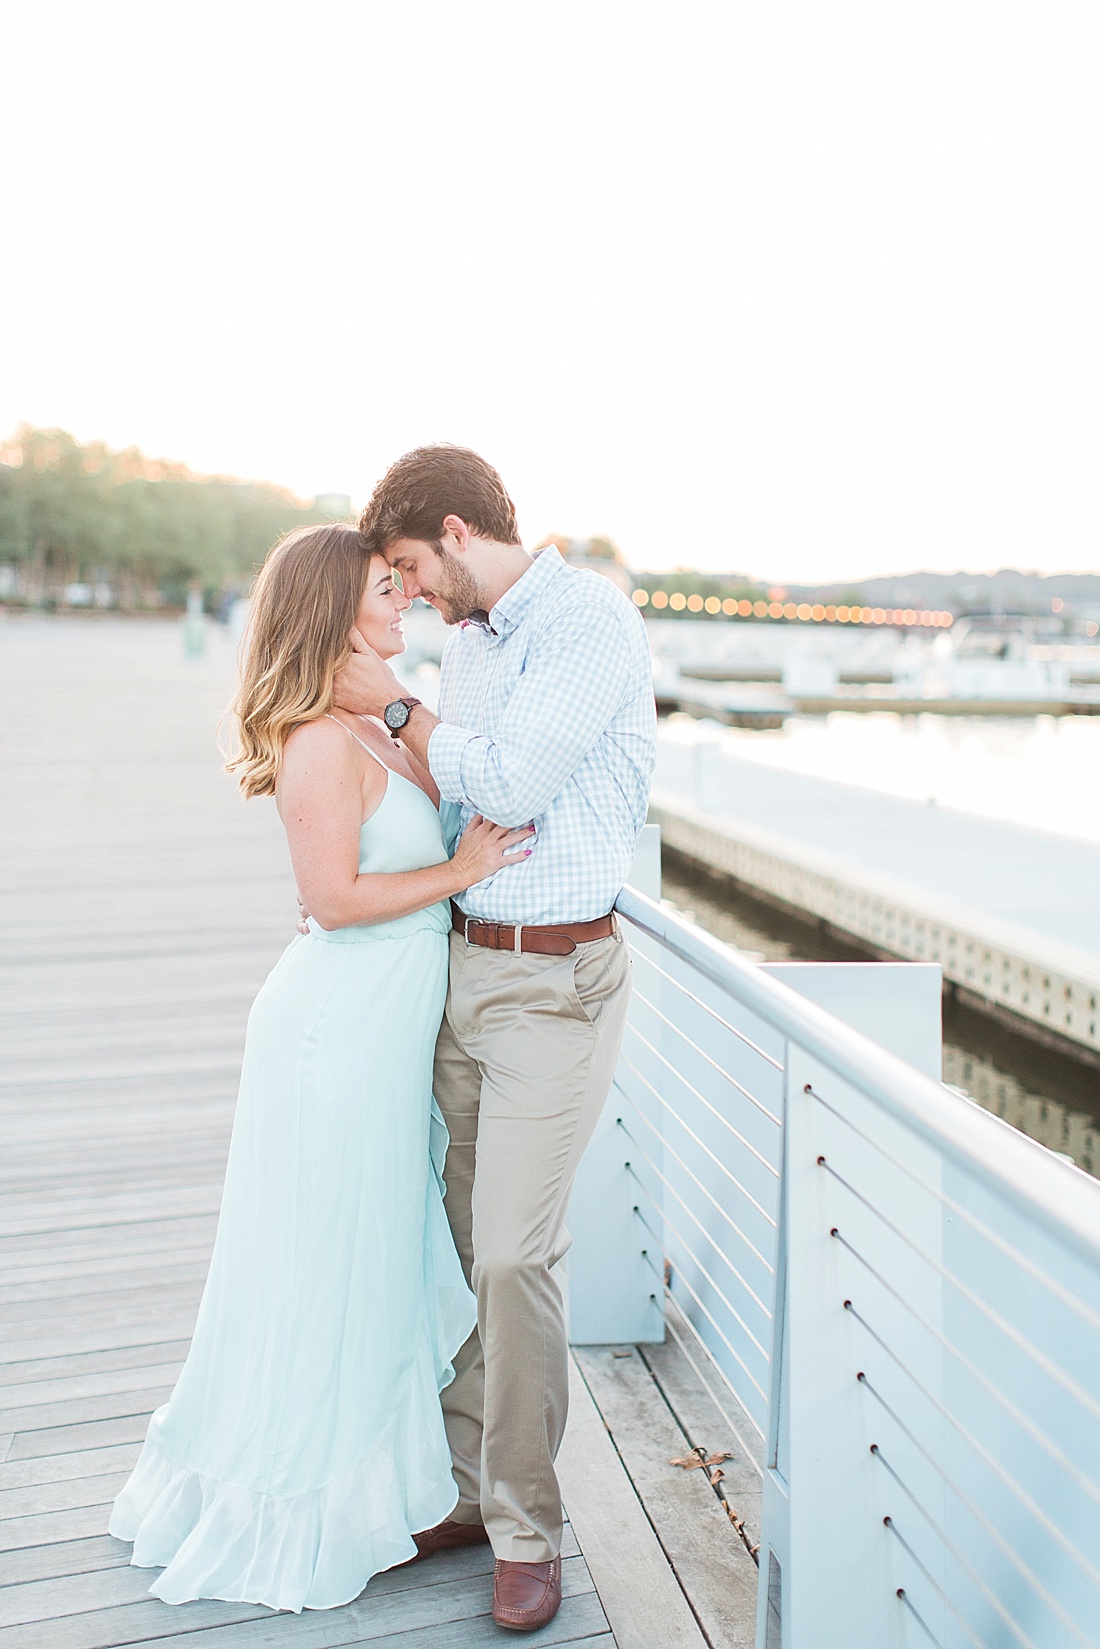
And then there’s your third option for backlight, shooting with the sun just OUTSIDE of your frame. Compose your shot in such a way that the sun is either JUST above or to the side of the constraints of your frame. Like this shot! You can see the sun peeking in on the right side.
Photographers, if you found this helpful, make sure to stay tuned to the newsletter (get on the list HERE)!! We have something REALLY exciting coming October 17th :).
Photog Friday : Shooting backlit during golden hour
October 7, 2016
Follow along
@abbygracephoto
info@abbygracephotography.com
WASHINGTON, DC & WORLDWIDE
DESIGN BY TONIC SITE SHOP
© ABBY GRACE PHOTOGRAPHY 2024
Back to top

Love it! These photos are gorgeous!
AHHH this was super helpful. It may seem obvious i guess, but I’ve been struggling. You explained it perfectly and easily to understand. Can’t wait to try this out!!!!!
Beautiful. I take it that you are metering off their faces? Do use a flash? What is your preferred ISO and aperture to get these type of shots?
Would love to know your settings for the above full length/horizontal shot 🙂